How to Make Beeswax Candles at Home
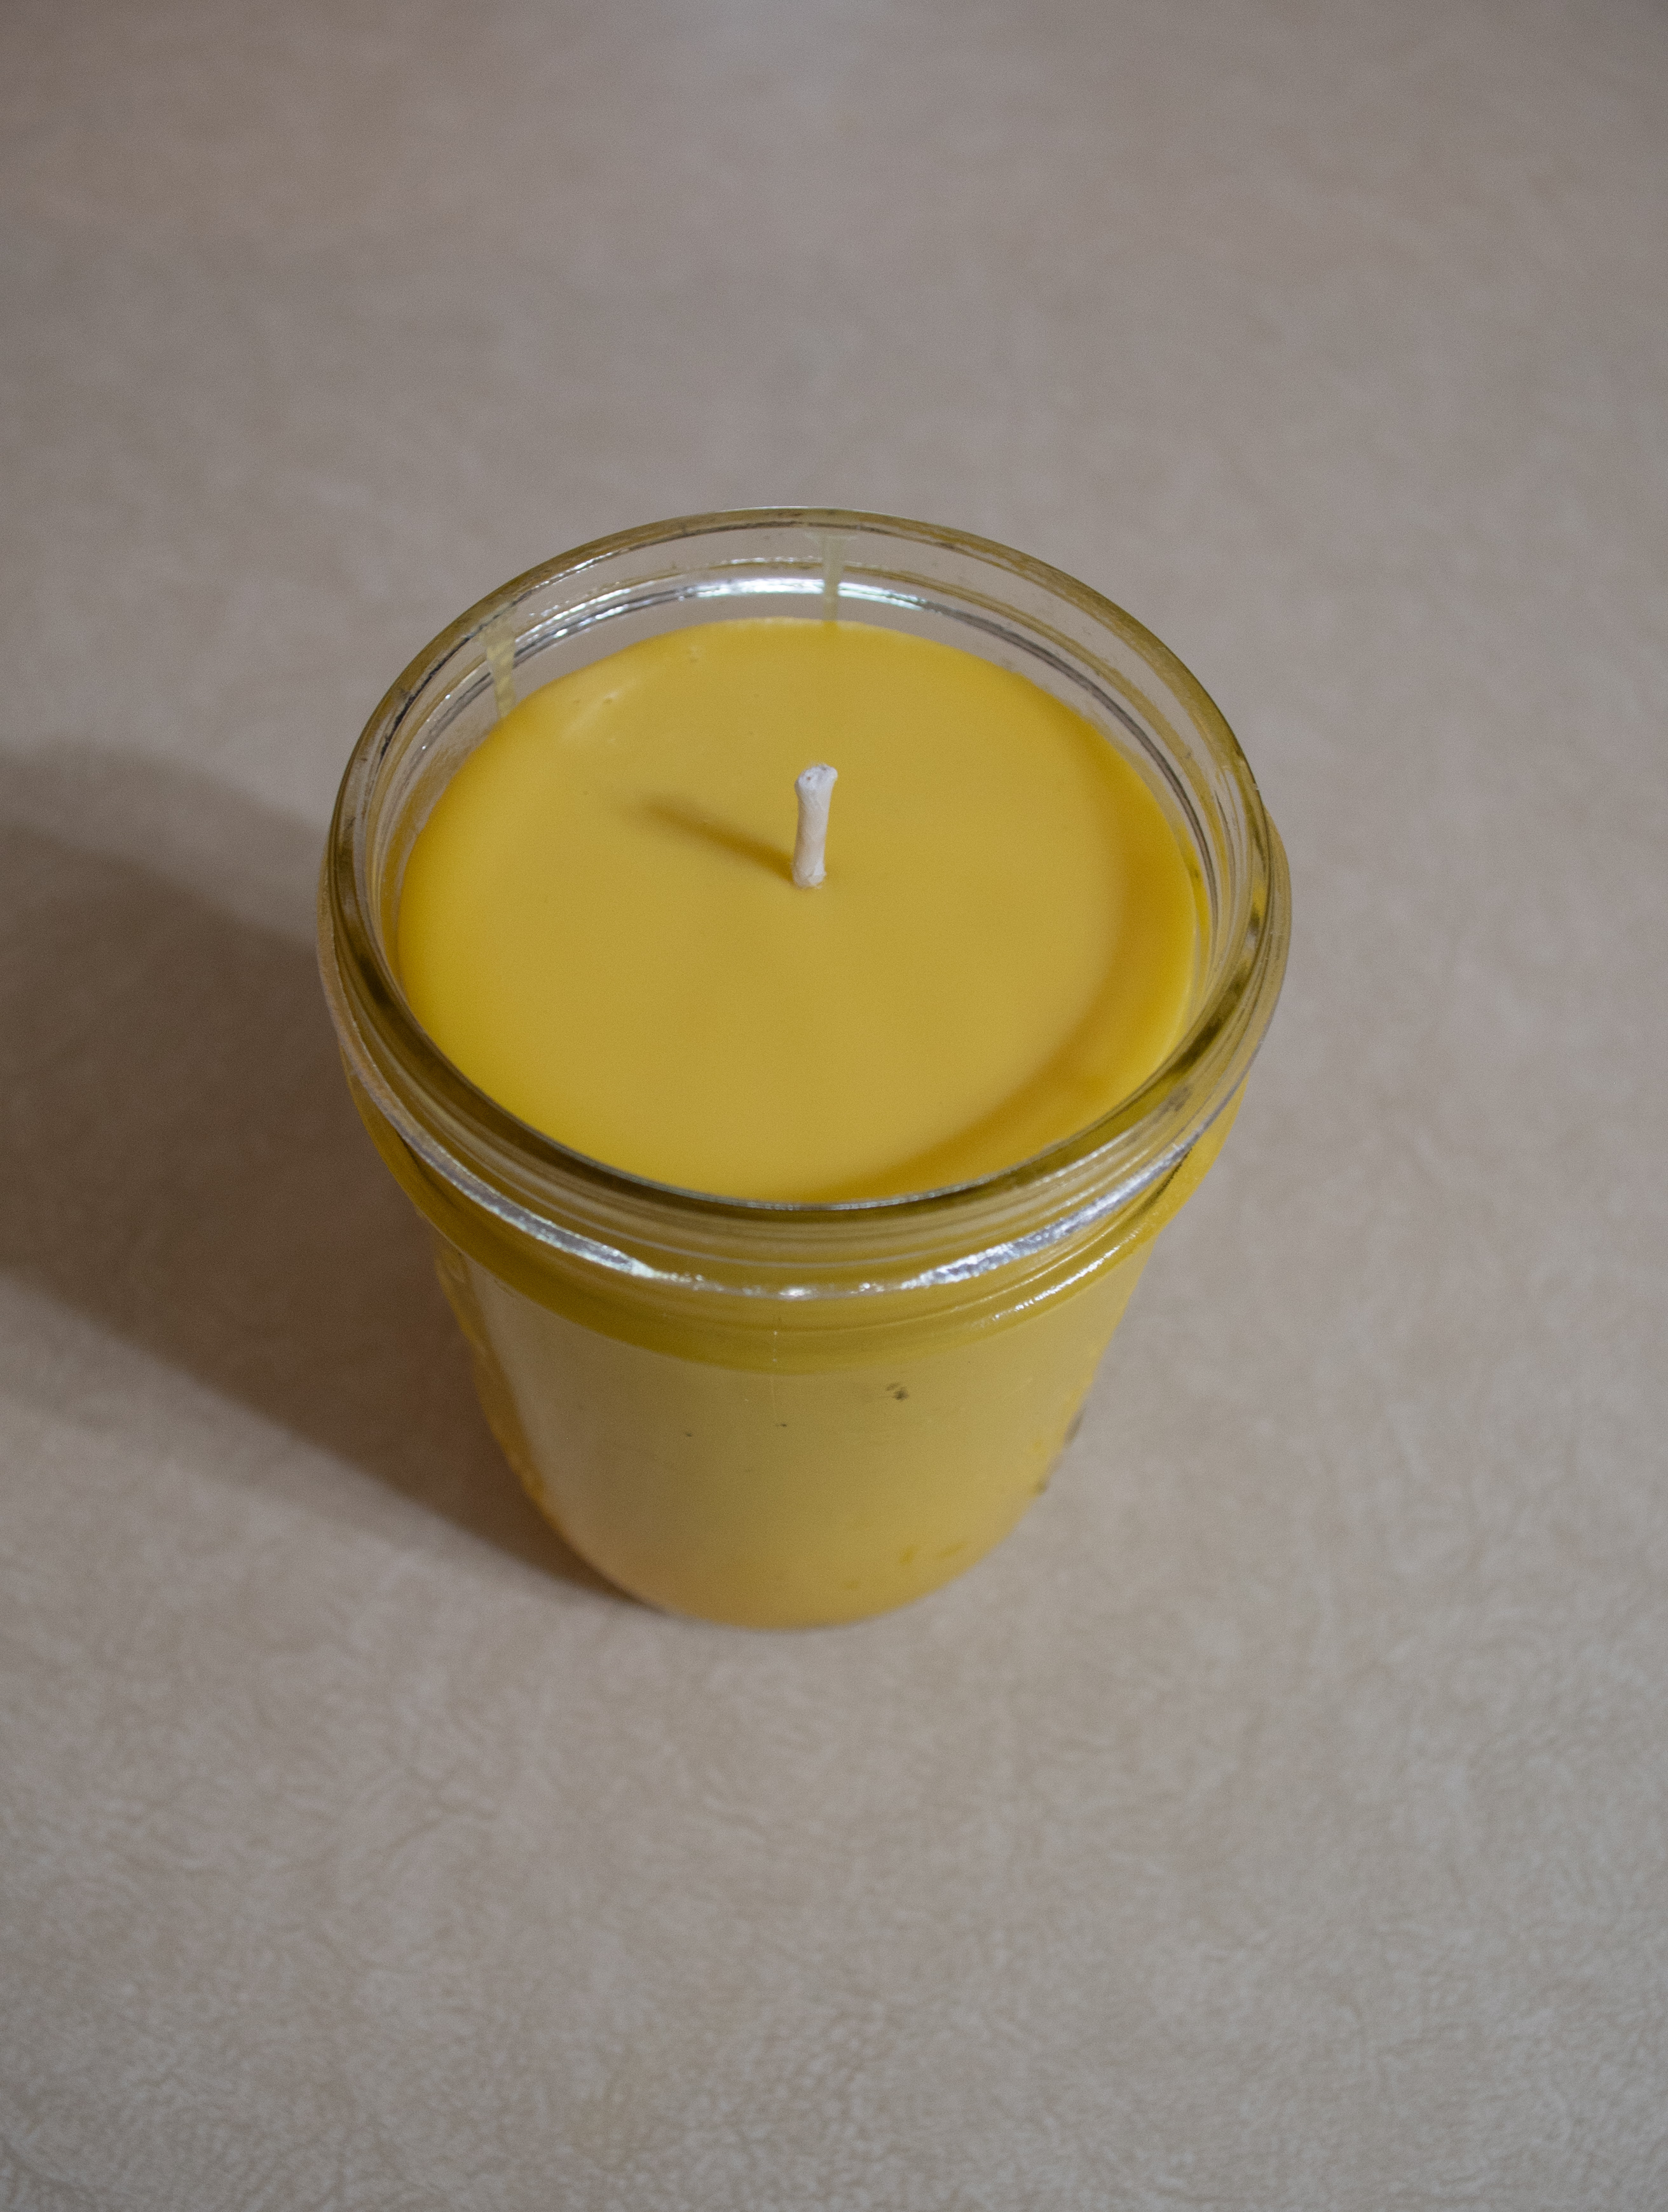
Candles are my favorite go-to items to make my home feel cozy. From the beginning of fall and all throughout winter, my family loves to see the light of these candles flickering in the early evening while we enjoy dinner. I’ve found beeswax candles produce the most wonderful light so they are also an amazing item to keep in your home in the event your power goes out.
The aspect I enjoy most about beeswax candles is the light and sweet honey smell they deliver to the home. If you prefer a stronger smell, you can certainly add your favorite essential oils. See notes for scent combination suggestions for each season.
Important Notes
- Use dedicated tools – Beeswax is very difficult to remove from surfaces and clothing. I would recommend using dedicated tools for your candle making. This includes your double boiler setup, containers and thermometer. Using a dedicated work surface or covering your workspace in newspaper or a plastic table covering is helpful for quick clean-up, too. Also, don’t forget to wear an apron or clothes you wouldn’t mind getting almost un-removable wax on.
- Reuse containers – To make this project a bit more cost effective and sustainable, you can reuse old containers as long as they are heat safe. For example, I use glass yogurt containers and a set of canning jars I have dedicated to candles. If you don’t have miscellaneous containers, I would recommend dedicating a set of either pint or half pint canning jars.
- Choose straight walled containers – If you decide to use a rounded container or a container with angled walls, you are more likely to get cracks in your final product. These cracks do not alter how the candle burns. However, if you are making these for a gift, you may not want to have any visible cracks.
- Pour the beeswax at the right temperature – Keep in mind the optimal pouring temperature is between 155 and 160 ° Fahrenheit. This temperature will minimize any potential cracks and bubbles in your final product.
- Scent suggestions for each season you make your beeswax candles
- Summer – Amber or lemon (Bonus: Citronella for an outside candle)
- Fall – Cinnamon, vanilla or maple
- Winter – Peppermint or pine
- Spring – Citrus or lavender
Ingredients and Tools
- Beeswax – the amount you will need will be determined by your container size. If you are using pint or half pint jars, you will need approximately 175 grams/ 6.5 ounces. While it’s great to use locally sourced beeswax, it’l may not be widely available near you. If you can’t find a. Ee keeper with extra beeswax, Etsy is a great place to find a beekeeper that does!
- Containers – You will want to determine what container you want to make into a beeswax candle. I prefer using pint and half pint jars.
- Pretabbed Wicks – I recommend getting ECO-14 wicks. These are one of the thickest ECO wicks so they burn the beeswax better than the thinner wicks. I purchase mine from Amazon or Etsy.
- A double boiler – This will be used to melt your beeswax. Because beeswax is so difficult to remove from tools, I recommend dedicating a double boiler to making beeswax candles
- Water for the double boiler – You aren’t ingesting this water so plain tap water is just fine.
- A thermometer – This thermometer will be used to ensure you’re pouring the wax at the right temperature. Because beeswax is so difficult to remove from tools, I recommend dedicating a thermometer to making beeswax candles.
- Newspaper or plastic table covering – if you care about your work surface, I recommend having two layers of newspaper down when pouring
- Hot glue gun and hot glue sticks – This will be used to secure your wicks to your container.
- A heatsource – I use my stove
- Pens/Sharpies or candle wick holders – These will be essential in ensuring your wicks are straight when your beeswax is poured and cooling.
Instructions
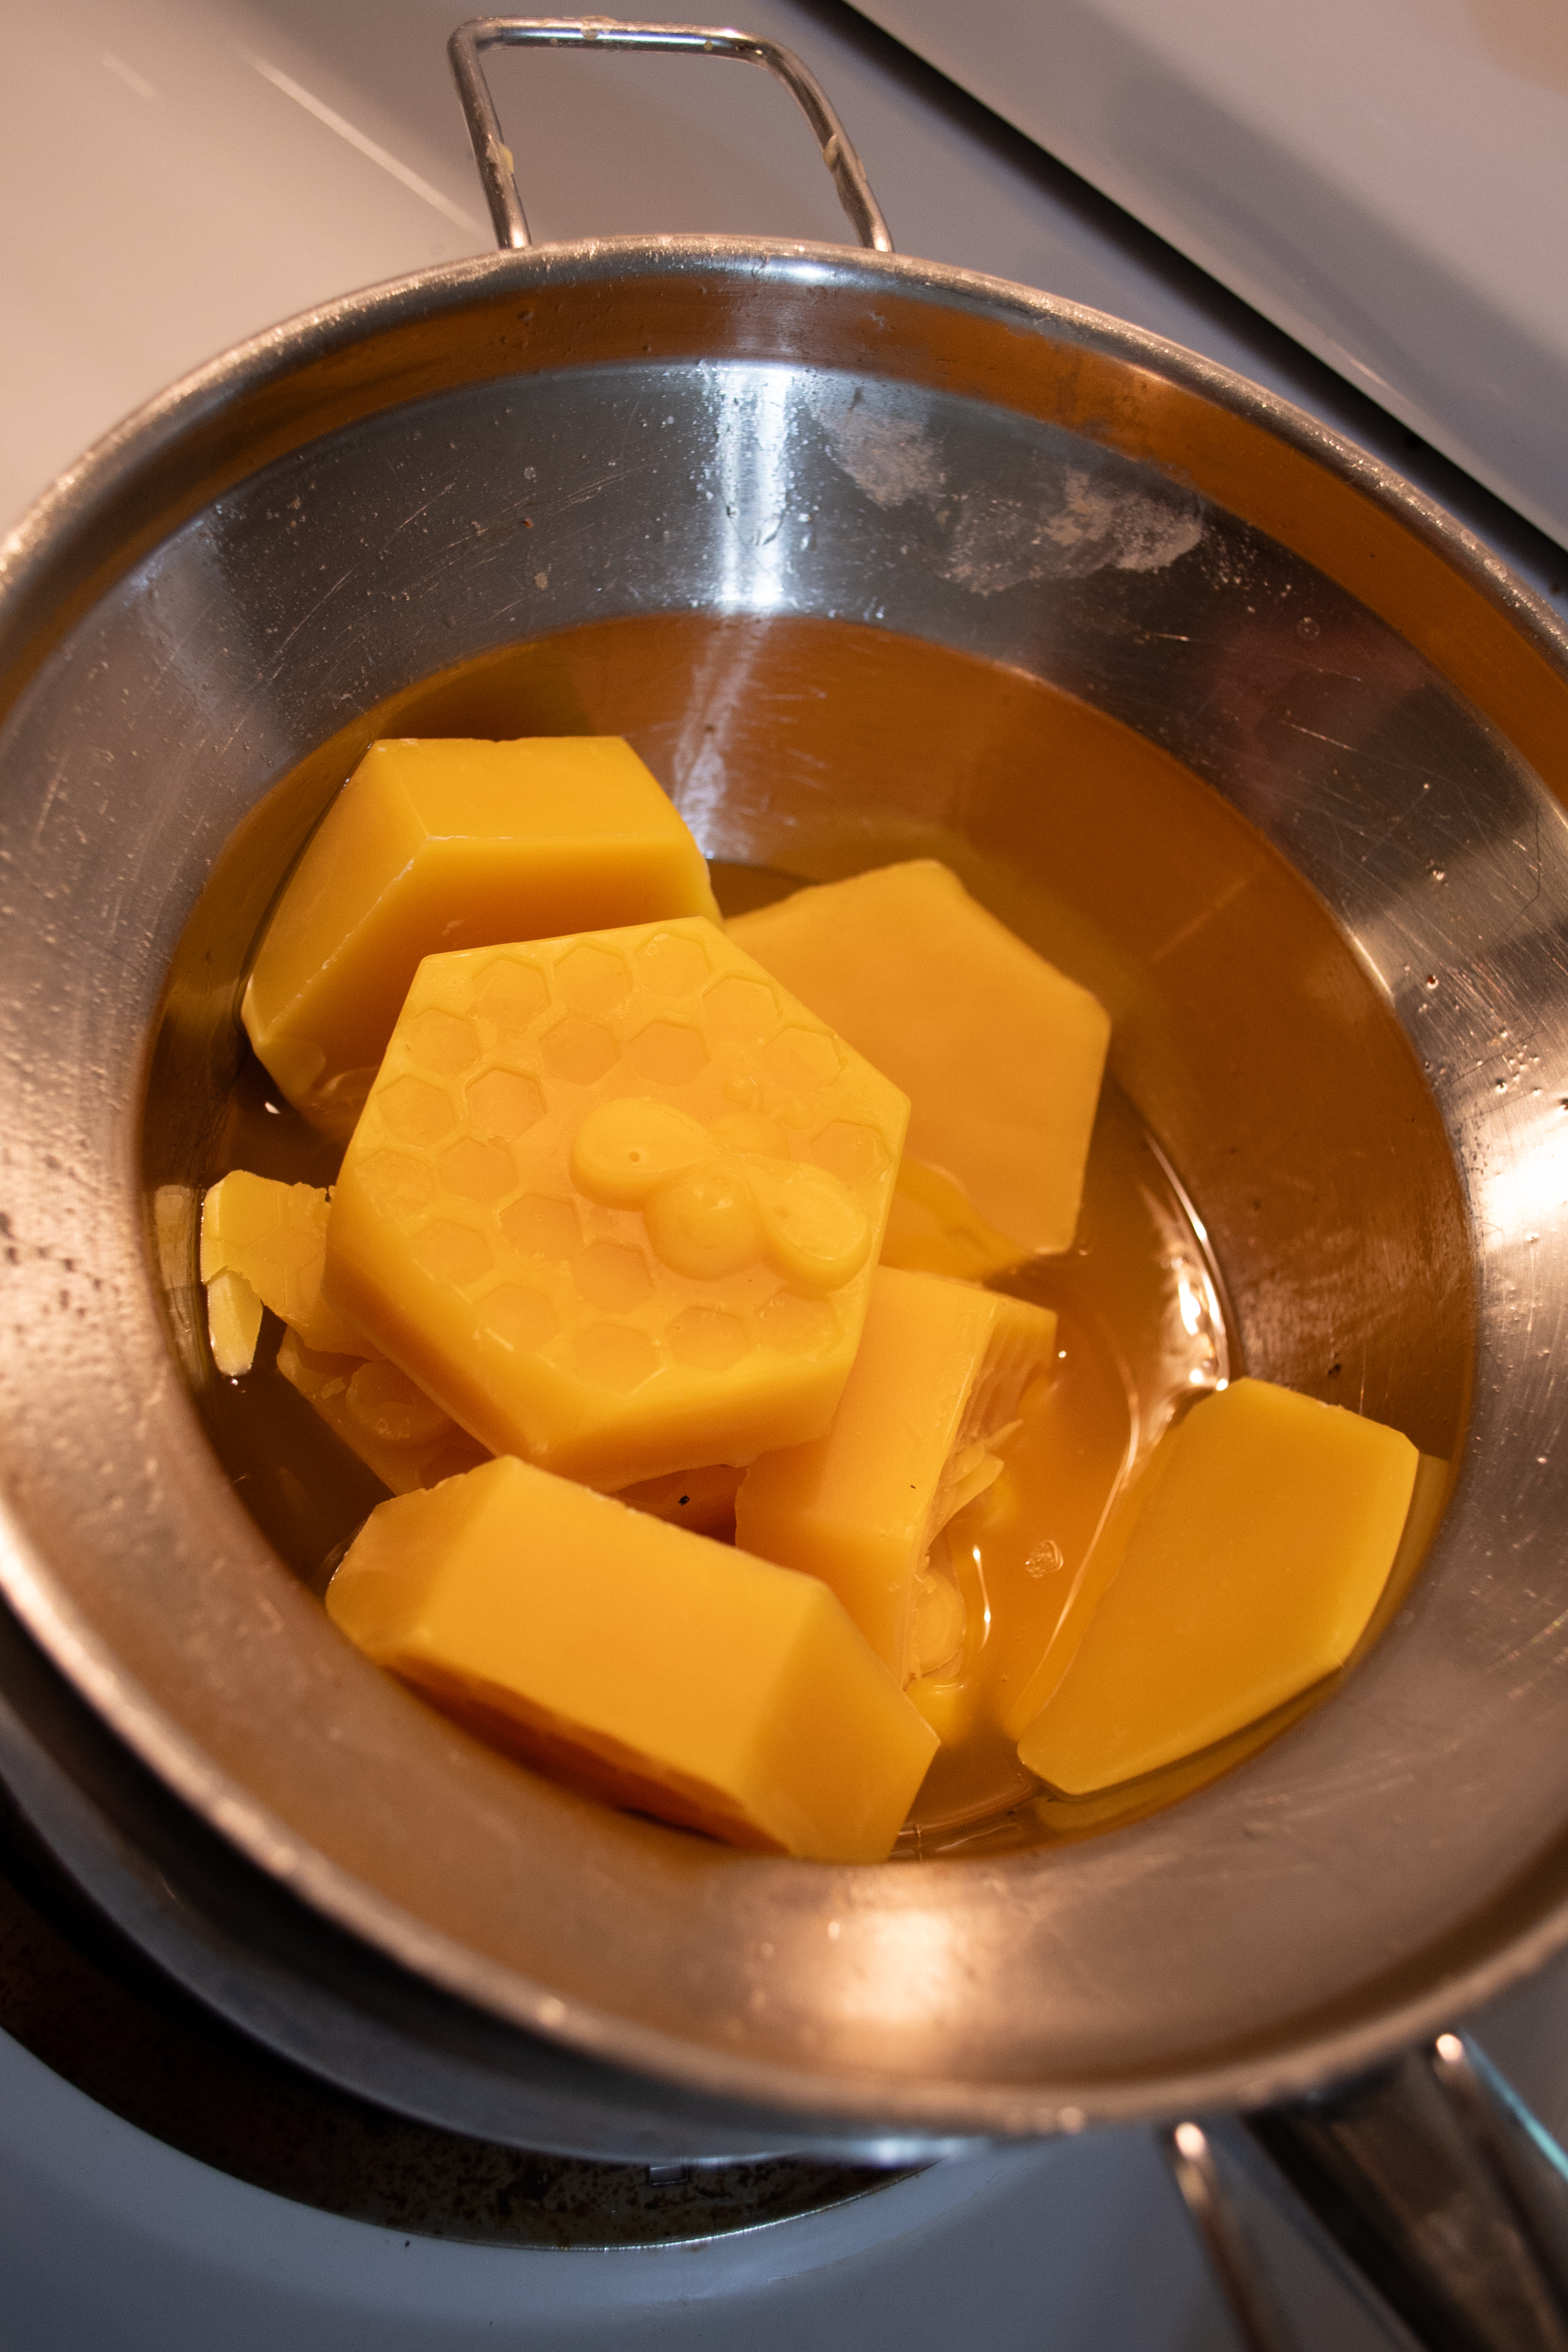
Prepare your double boiler with water, add the top pan to its place. Add your prepared double boiler to your stovetop.
Turn on your burner to a medium heat so that the water simmers.
Add your Beeswax to the top pan of your double boiler and wait for it to melt.
While your beeswax is melting, prepare your candle containers by putting a small dot of hot glue on the tabbed wicks and securing it to the center of your container bottom.
Once your beeswax is melted, measure the temperature of the melted wax with your thermometer. If your thermometer reads above 160°, remove the beeswax from the heat and allow it to cool before pouring.
If you are adding fragrance to your candles, do so here. See additional tips for more details.
When your thermometer reads 155-160° F, it’s time to pour! Fill your container until there’s a half inch of headspace.
After your wax is poured, center your wicks and hold them in place by wrapping it around a pencil, fixing it between a pen and its clip, or with a wick holder. Make sure there is a bit of tension on the wick while it cools to ensure an even burn.
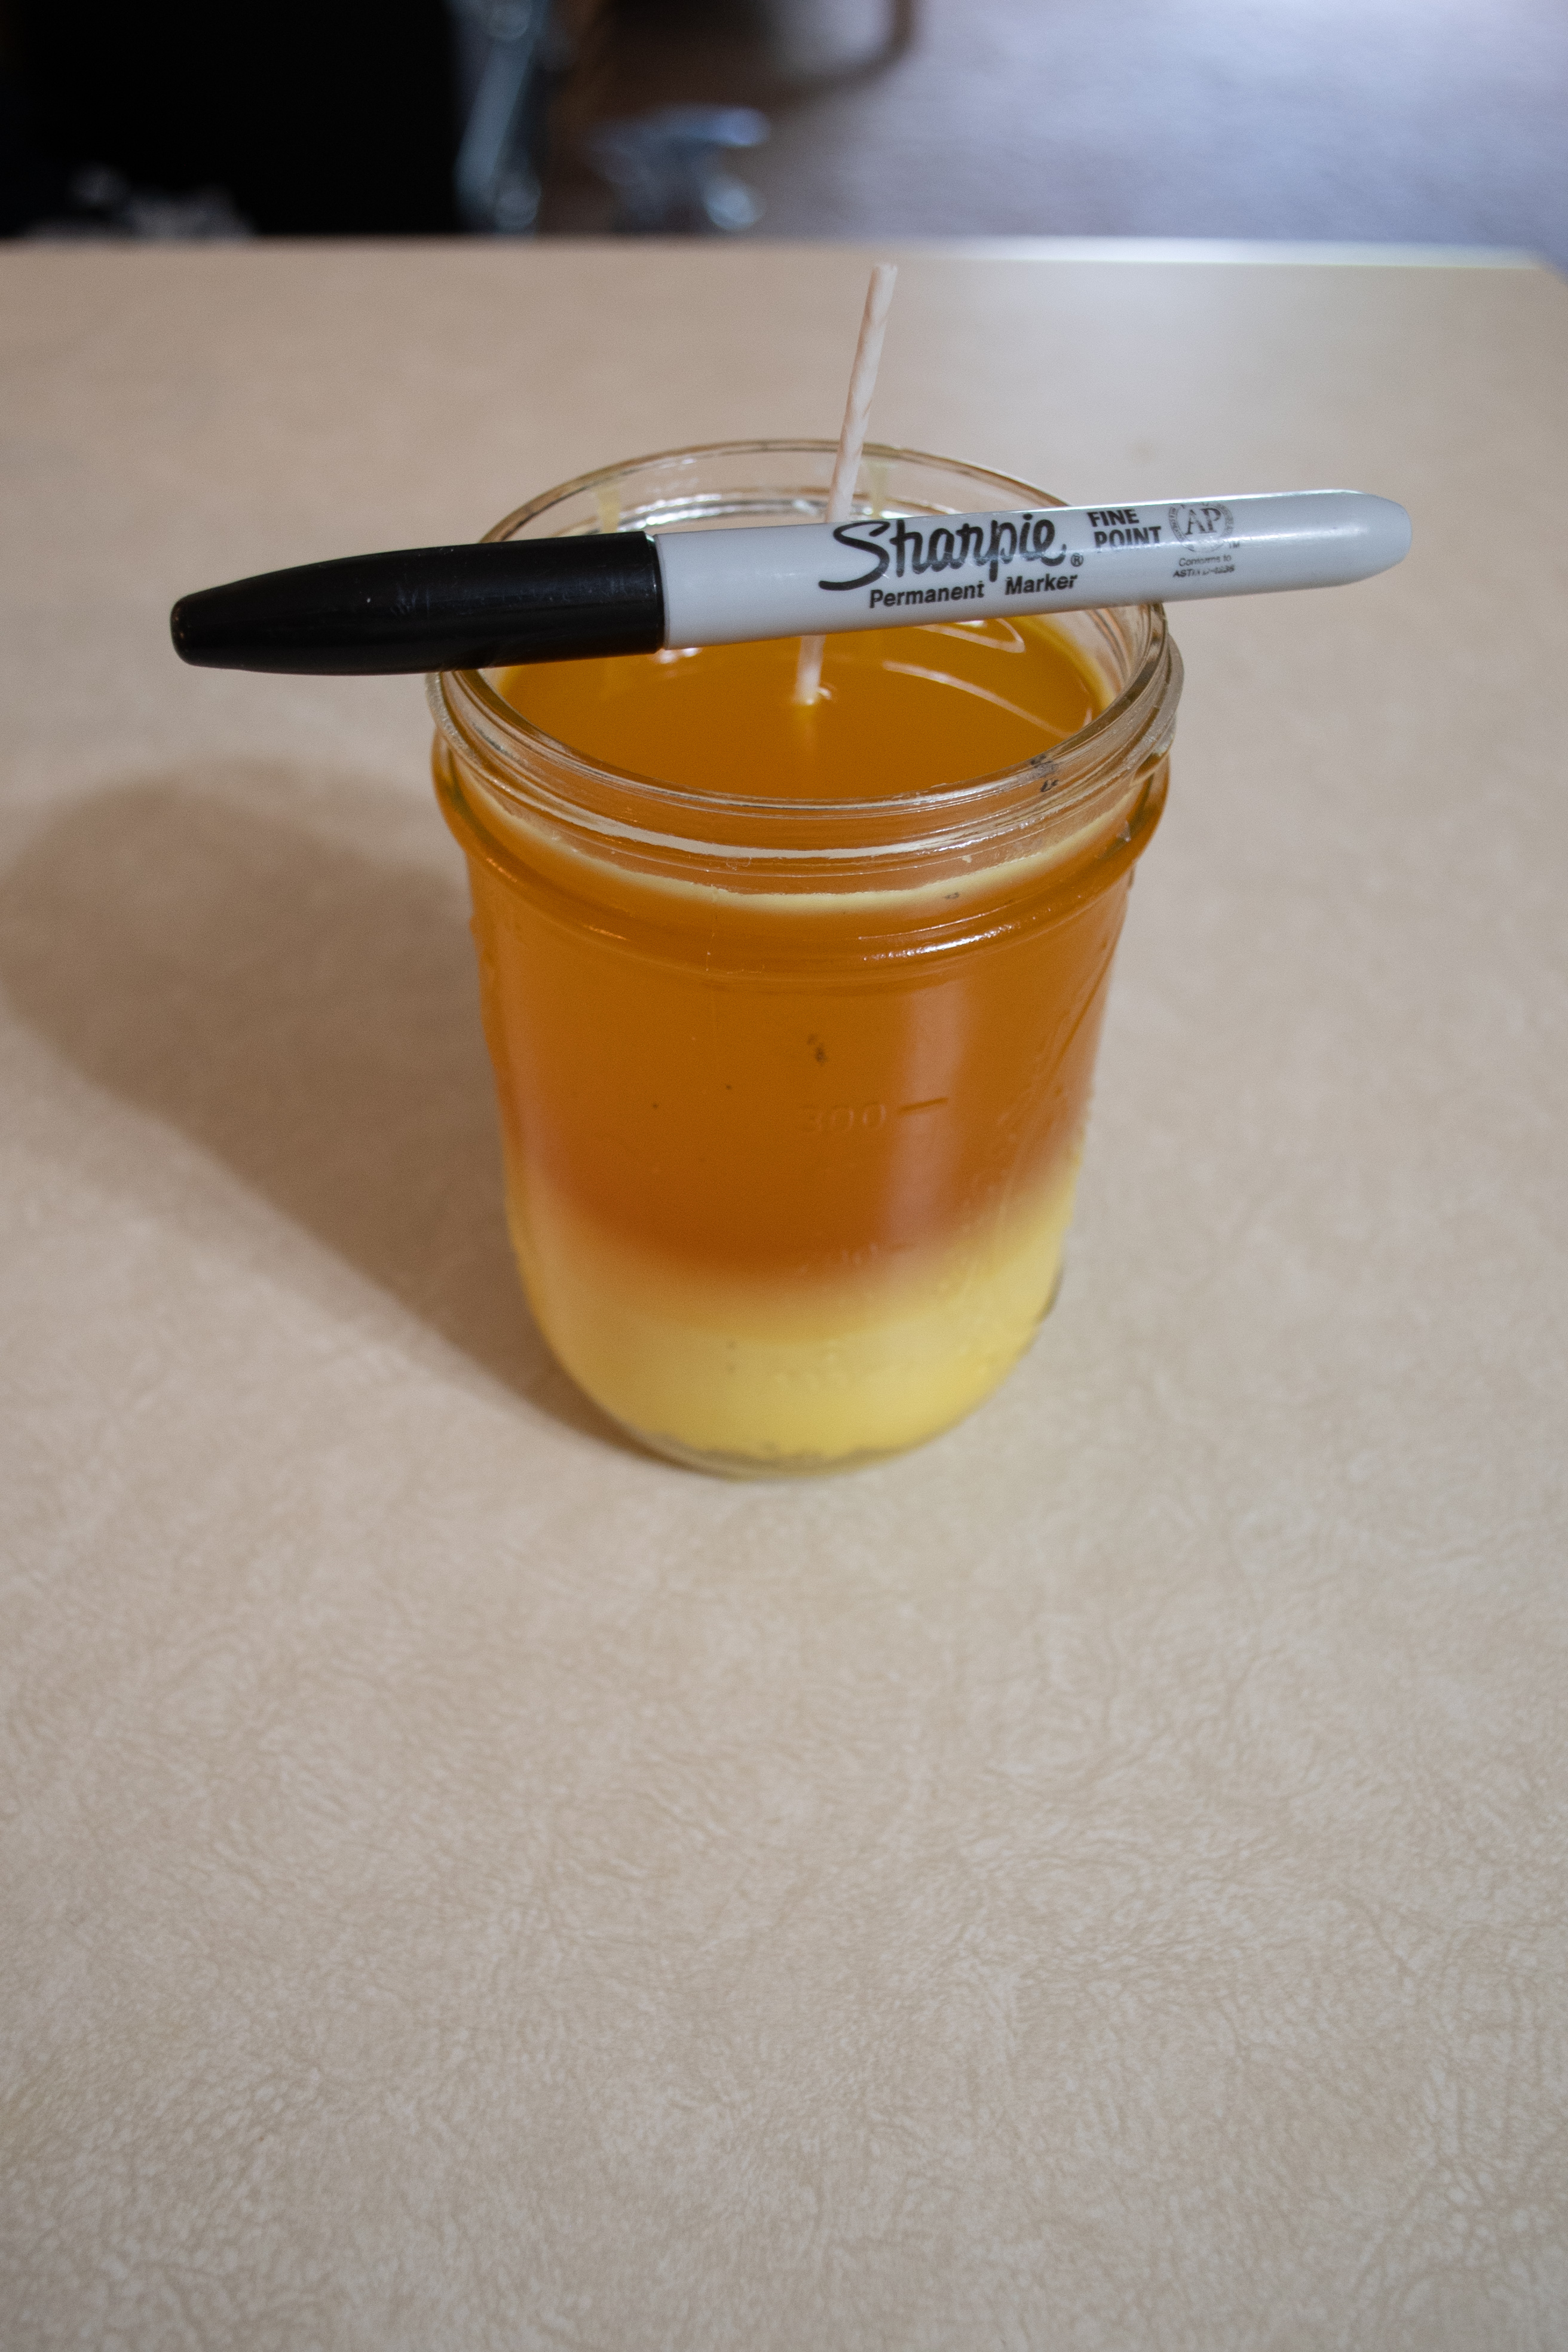
Let your newly poured candles cool. Be sure there is adequate space between each jar in an area without a draft. It is best to leave them in their place until fully cooled. I typically leave them on my counter overnight.
Before storing, trim wicks to approximately ½- ¼ inch.
Are you looking for more DIYs? You might enjoy this cutting board conditioner or this Aerosol Free Dry Shampoo.
Tips
If you want to have a scented candle, it may be tricky to get a consistent scent. Additionally, it can take quite a lot of oil to build up a desired scent profile. To help keep the most scent, add your essential oils when the temperature of the wax is closer to 160° F. Adding oils above this temperature may cause some of the scent to evaporate.
Everytime you burn your candle (especially for the first time), make sure to burn the whole top layer before extinguishing your flame. This will ensure you get the most out of your wax and your candles will not tunnel.
FAQ:
Why did my beeswax crack?
There may be multiple reasons why beeswax will crack. In my experience, the beeswax cracks when it is poured into a room temperature jar at too high of a temperature. This rapid cooling can cause cracking.
I’ve also encountered wax cracking when I use a jar with angled sides. This cracking does not impact the candle burning much but if you’re giving the candle as a gift, I would suggest using a straight sided container without angled sides.
Can you fix cracks in beeswax candles?
Sort of. How I “fix” cracks in my beeswax candles is to fill in the cracks with more melted wax. Doing this does not make for the prettiest candle. However, I use most of the candles in my household for personal use and ambiance. So, I don’t mind if they don’t look perfect
If you’re making candles for gifts, you may not want to pour more wax into your container to fix the crack.
Did you try this? Share your creations in the comments or by tagging @MissysHomestead on Instagram.
