Easy Brown Sugar Icebox Cookies To Make For Christmas
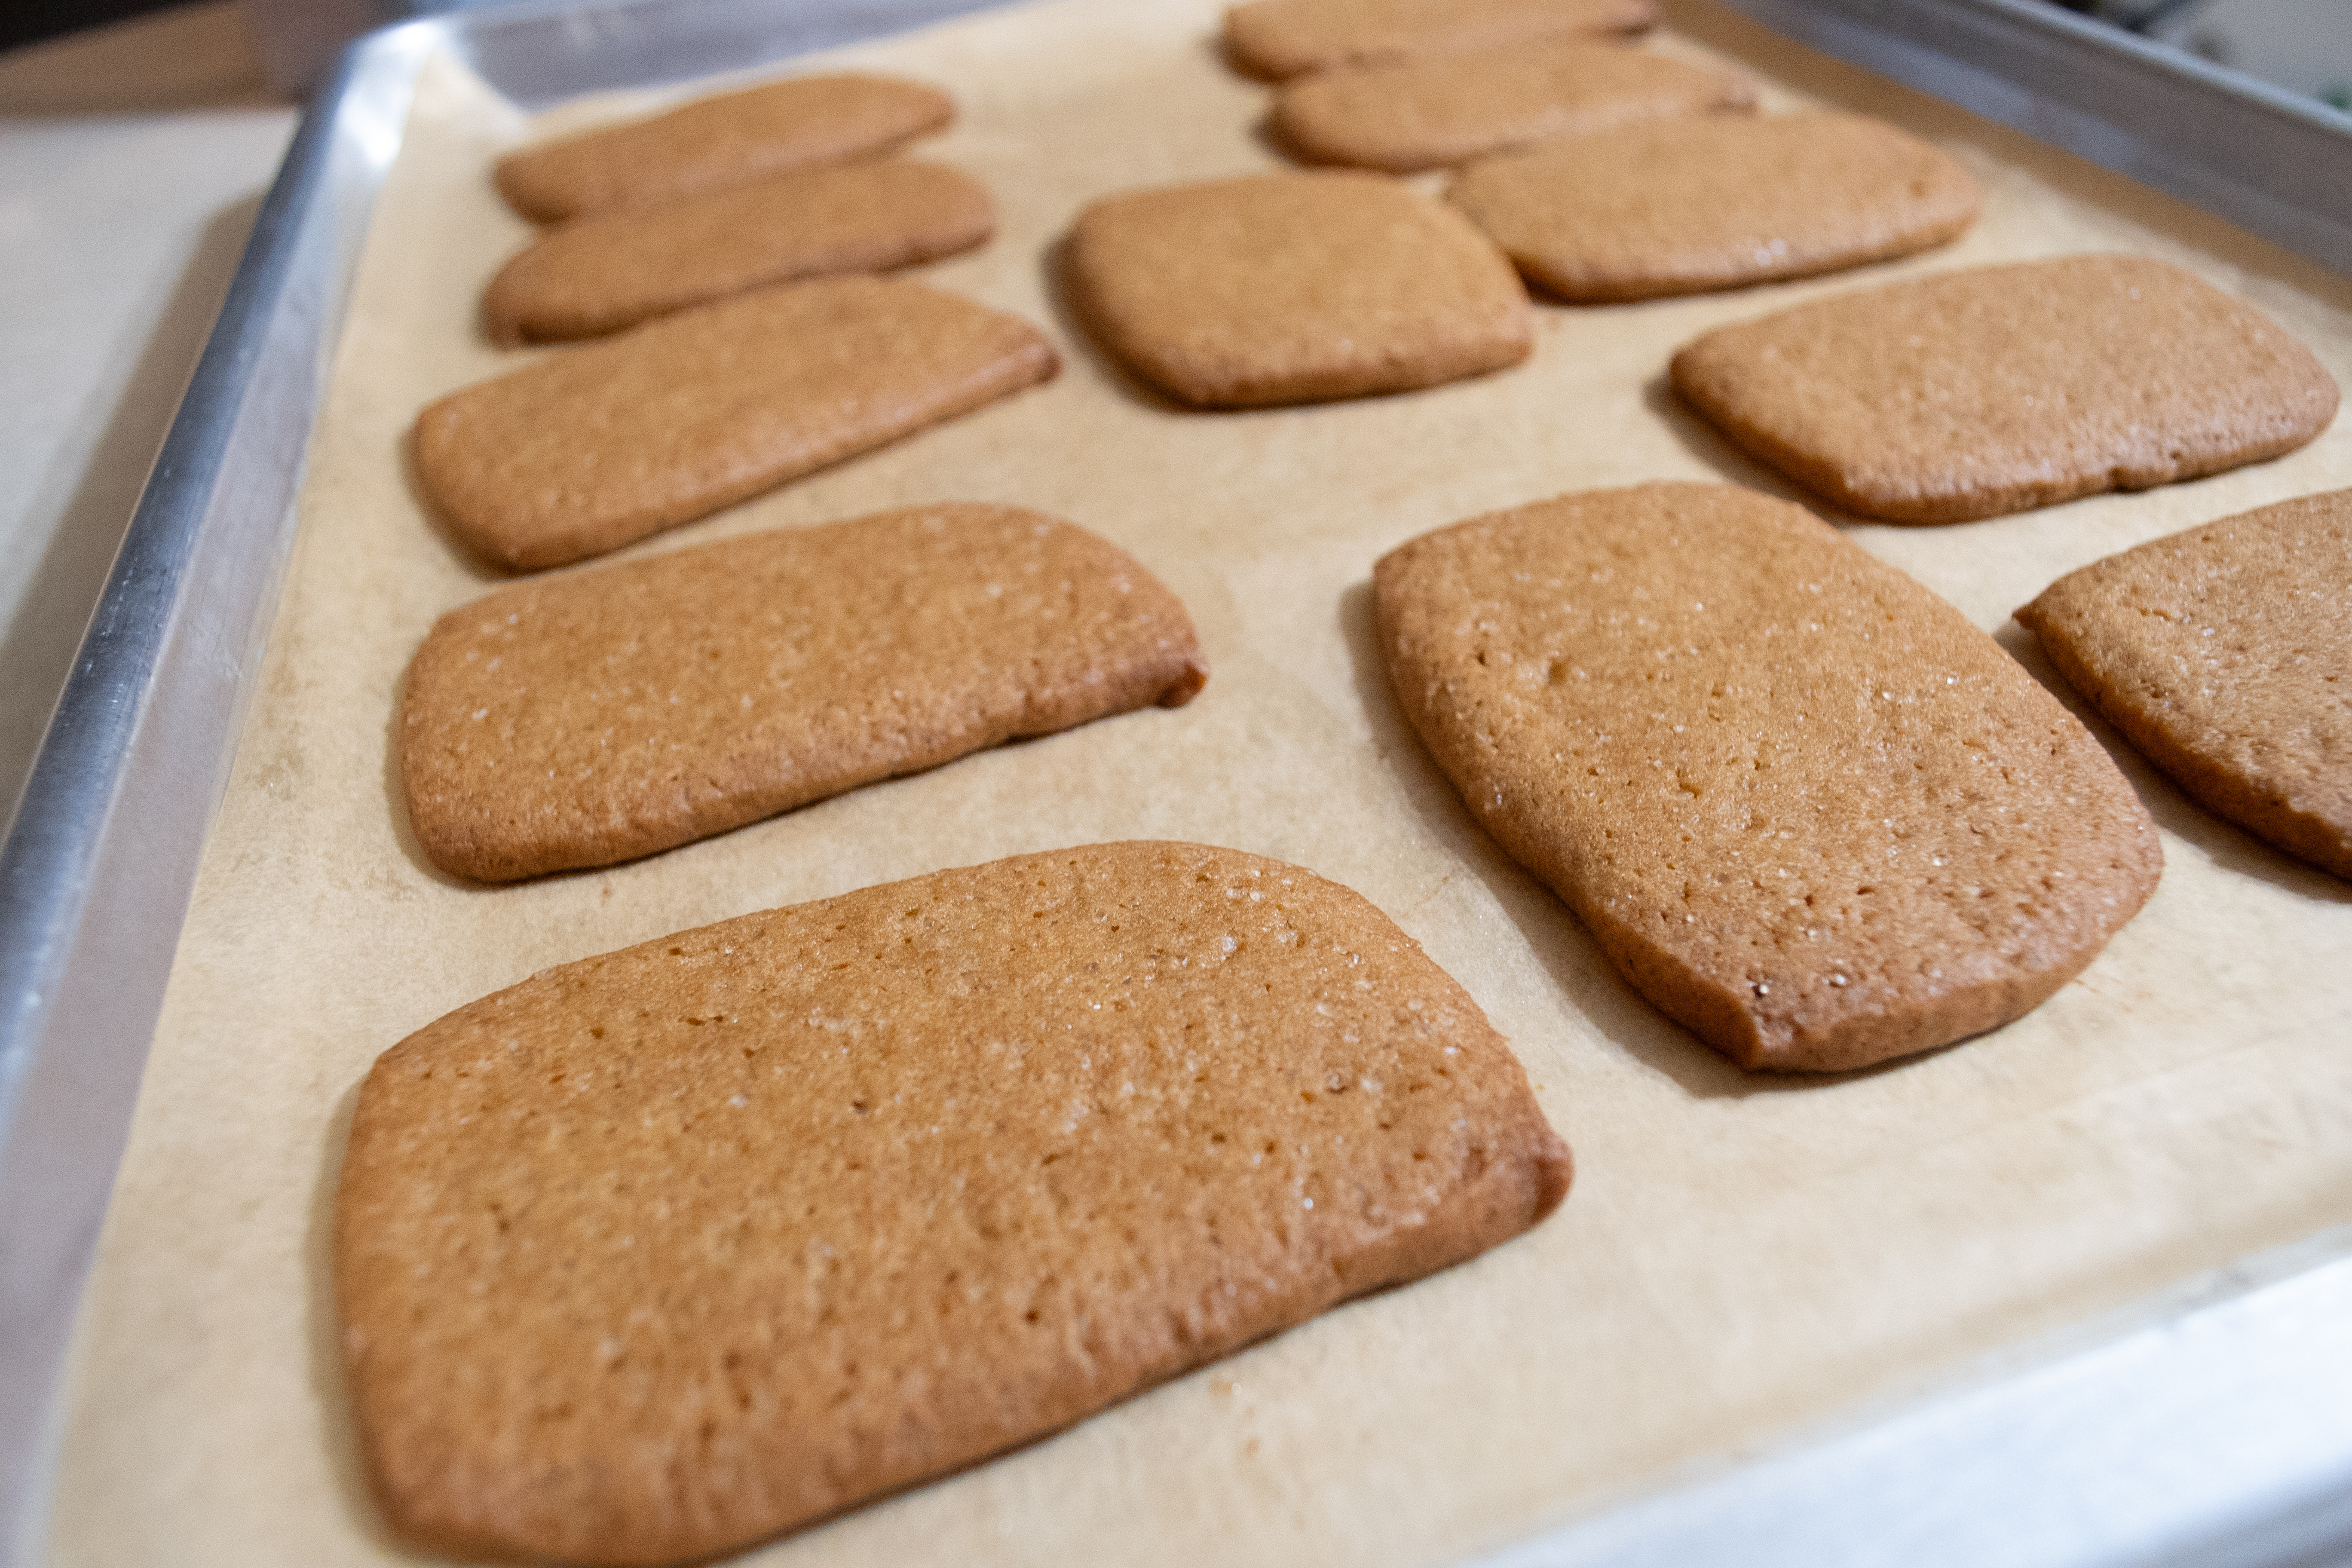
Christmas time brings a season of baking many different kinds of cookies. Because these icebox cookies are made with brown sugar, they have a molasses flavor without being a specific molasses cookie.
One reason these will be widely enjoyed by your friends and family is because they can be made at any thickness. Because of this, you can make thicker, chewy cookies or you can make thin and crispy cookies! This versatility in creating the kind of cookie desired is great when half of the party likes thin and crispy and the other likes a thicker and more chewy cookie.
History of Icebox Cookies
For those who may not be familiar, “icebox” refers to the predecessor of the refrigerator. As the name describes, it was a place in the home that was kept cool by a block of ice.
The ice that would be used in these boxes would be purchased and then delivered to the home. Because of the development to keep foods cool, many other recipes that were to be stored in the fridge until it was needed were developed.
This style of cookie was designed to keep in your icebox so they can be prepared at a moment’s notice in the event you had company stop by.
Icebox cookies can be made with many different flavors and additions like nuts and fruits. However, these brown sugar icebox cookies may become the only variation your family may make at the holidays!
Ingredients and Tools for Brown Sugar Icebox Cookies
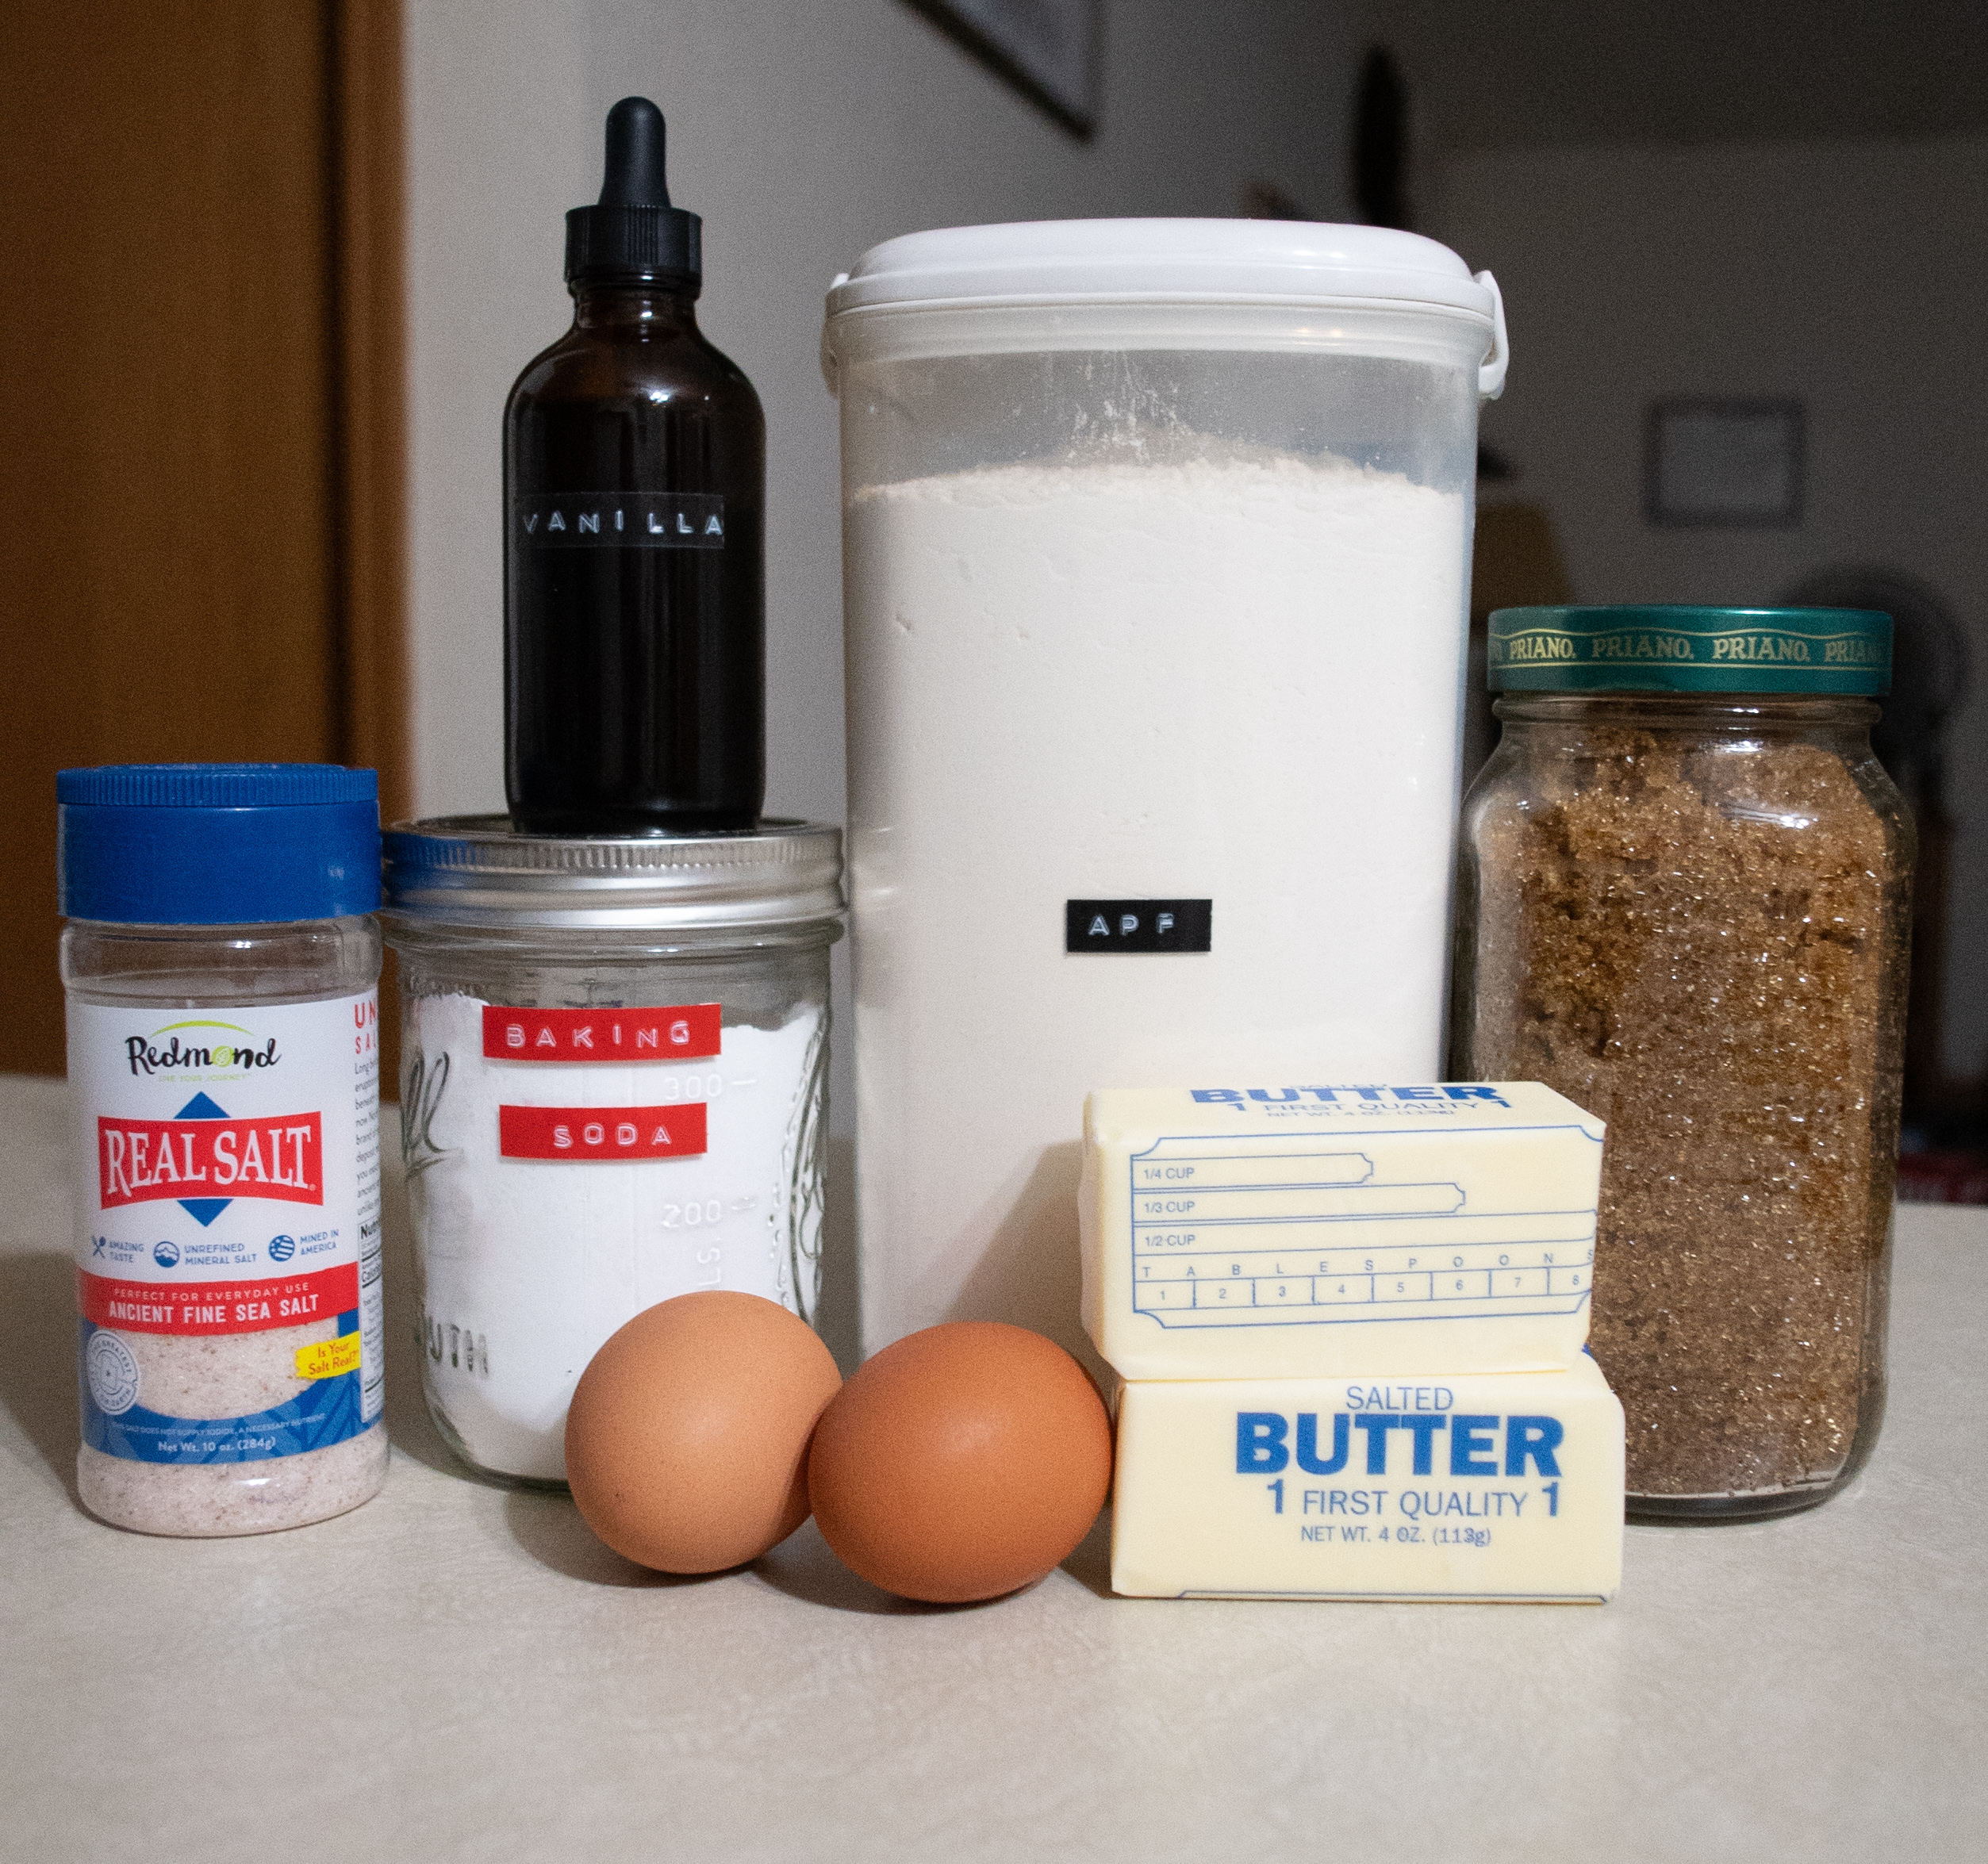
3 1/2 cups all purpose flour – I use an organic all purpose flour but any flour will work.
1 teaspoon baking soda – to help leaven the cookies a bit.
2 eggs – a good quality farm fresh egg is my preference. But any egg will serve as a good dough binder.
1/2 teaspoon salt – Since salt intensifies the yummy flavors, be sure not to forget it! Be sure to use a good sea salt like Redmond Real Salt to also add essential minerals.
1 cup butter – you can use salted or unsalted.
2 cups brown sugar – this gives that slight molasses flavor while giving these cookies a crispier texture.
1 teaspoon Vanilla extract – my favorite baking ingredient! It adds the classic warmth of baked goods that is well loved in the fall and winter seasons.
1 cup Finely chopped walnuts or pecans (optional) – these add a little texture and extra crunch to the cookies. I typically skip them but they are tasty!
2 medium Mixing bowls
Stand mixer or hand mixer – I use my KitchenAid Stand Mixer for convenience but a hand mixer or a bowl and spoon will work just as well.
Flour Sifter – this will be used to sift together your flour, baking soda and salt. If you don’t have a flour sifter, shaking a fine meshed strainer over a large bowl will work just as well.
Plastic wrap or parchment paper – for chilling & storing your cookie dough.
Cookie trays – ones big enough to bake the amount of cookies you want.
Oven – you’ll need to have your oven set to 375°F for these cookies
Looking for more recipes? You might enjoy this delicious granola or this cinnamon spice zucchini bread.
Directions for Brown Sugar IceBox Cookies
Begin by sifting together flour, baking soda and Salt. Set aside.
In the bowl of your stand mixer, beat butter until light at medium speed.
Gradually add in Sugar, add eggs and vanilla; Continue beating until very light and fluffy.
At low Speed, beat in half the Flour mixture. until smooth.
Mix in the rest of the flour with your hands to form a stiff dough.
If desired, add nuts & mix until well incorporated.
Press dough into bread pan lined with plastic or parchment paper.
When you are finished pressing the dough, make sure all sides of the dough are covered in plastic wrap or parchment paper.
Place wrapped dough into refrigerator until firm.
Once firm, the cookies are ready to be baked!
Preheat the oven to 375°F
Cut dough into desired thickness (thin slices for crispy or thicker for softer).
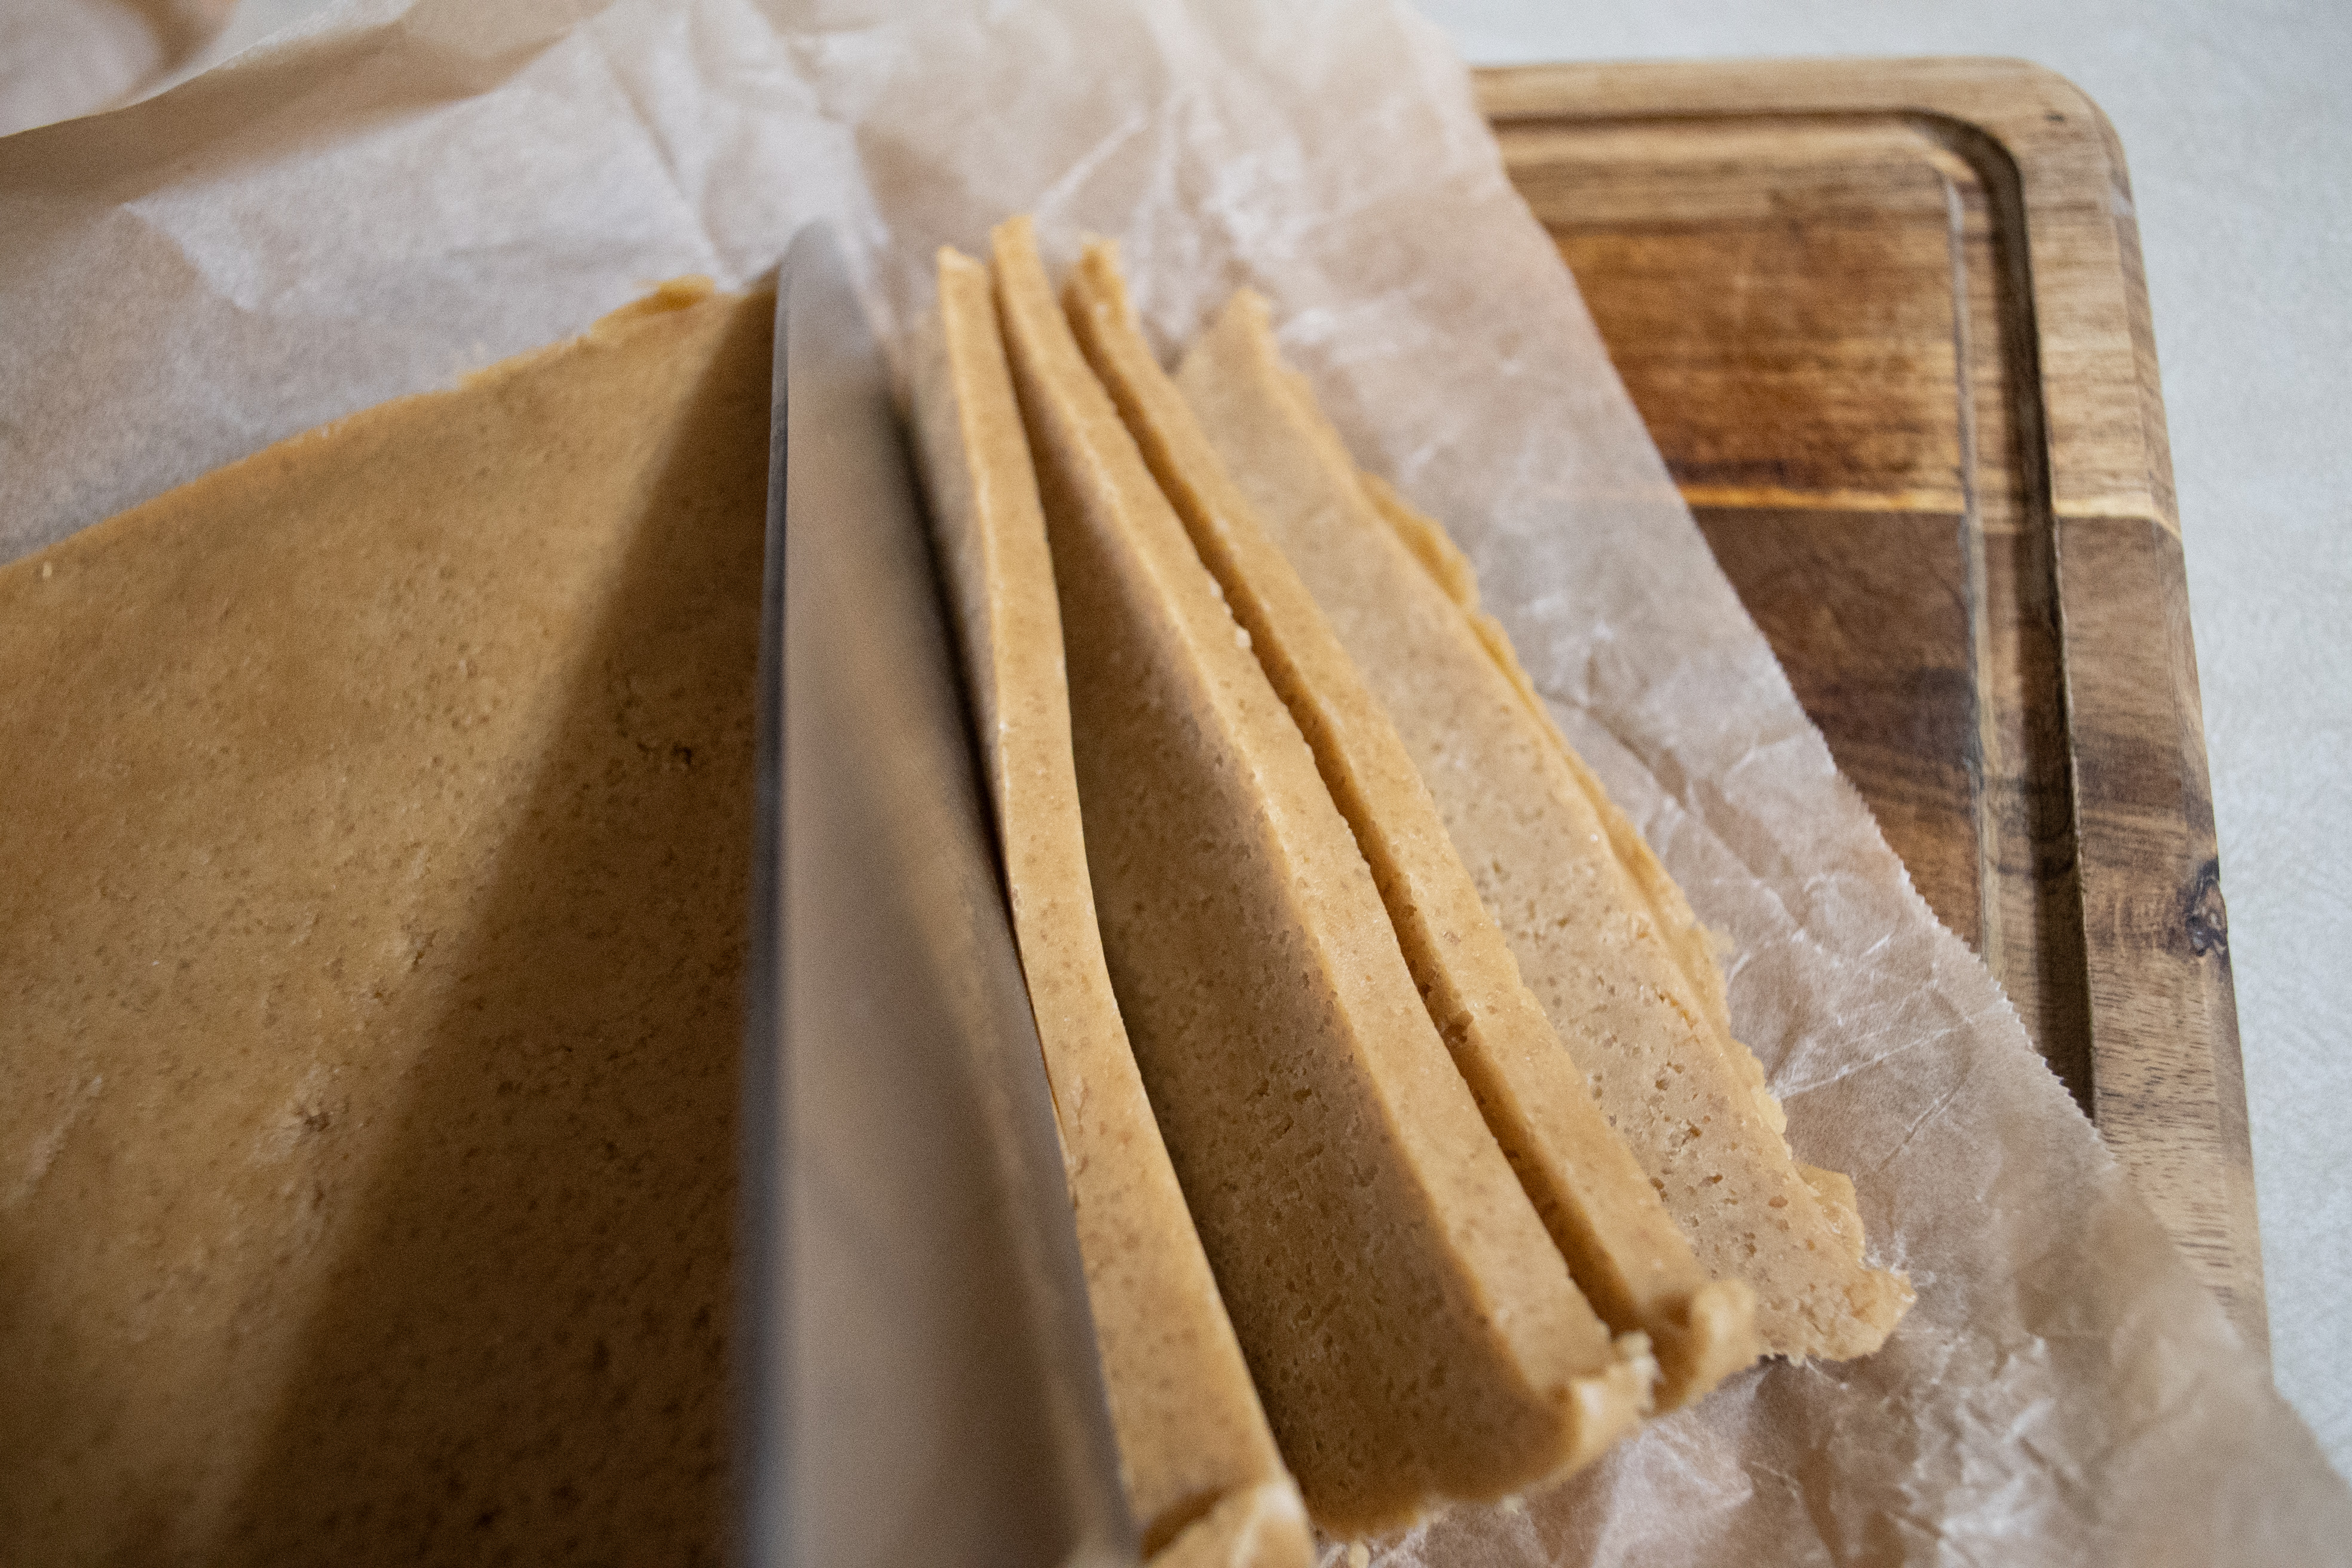
Place cut cookie dough onto a baking sheet 2 inches apart.
Bake for 7 to 10 min or until golden brown.
If not all dough is used, rewrap and put into the refrigerator until next bake.
The number of cookies will depend on how thick the cookies are cut.
FAQ:
Why are these called icebox cookies?
The modern equivalent to the historical icebox is the refrigerator. This style of cookie was designed for you to keep on hand in your icebox so they can be prepared at a moment’s notice and in the event you had company stop by.
Did you try this recipe? I’d love to hear from you! Tag @MissysHomestead on instagram or comment below.
